|
|
| HOMEPAGE | VEHICLE HISTORY | TECH SPECS | FOR SALE & WANTED | MY VAN | TECHNICAL GUIDES |
My Vans I'm always on the lookout for more Bedford Rascal vans in particular - see here. |
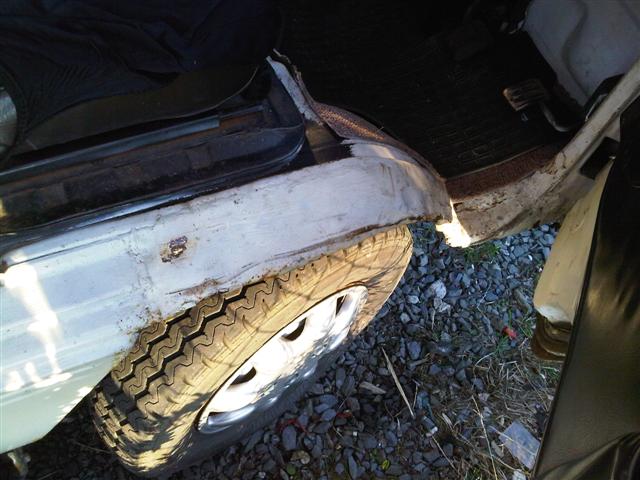
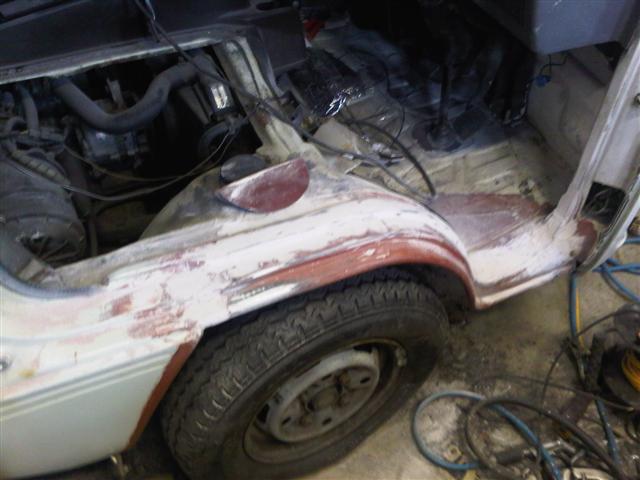
The camper failed its first MOT on quite a list of problems; - Front floorpan rusteaten/holed So I had to get stuck into sorting out the welding. Not too bad I thought after initial prodding around until it became time to get stuck into it. In order to repair the driver's side the entire wheel arch had to be replaced and most of the floor under the driver's feet had to be cut out and replaced. Just to remind you - this is what the driver's wheel arch looked like before:
It was a total mess - causing the door to become twisted and not close properly. It also made the window very stiff to move up and down. All of the above had to be cut out - believe it or not there were THREE layers of metal under that mess.
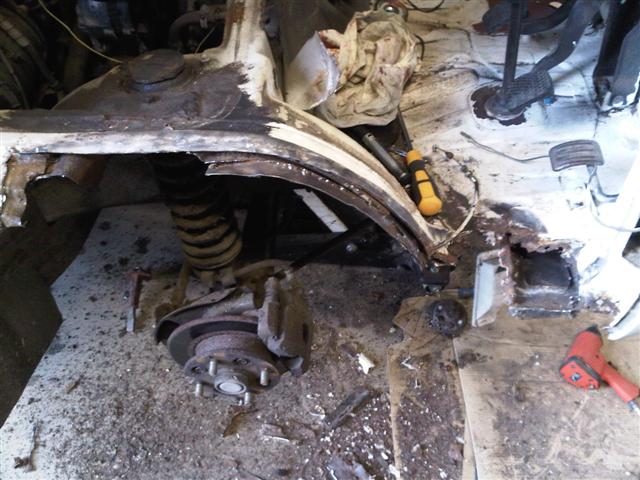
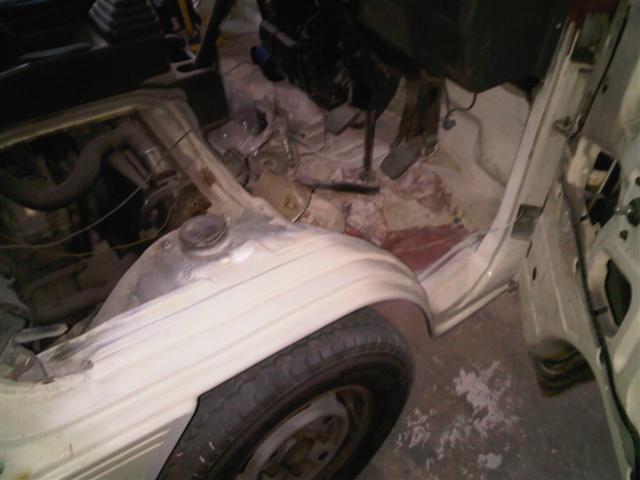
You can see in the photo above just how much of the front floor has already been removed and most of the floor to the rear of the pedals also had to be cut out and replaced.
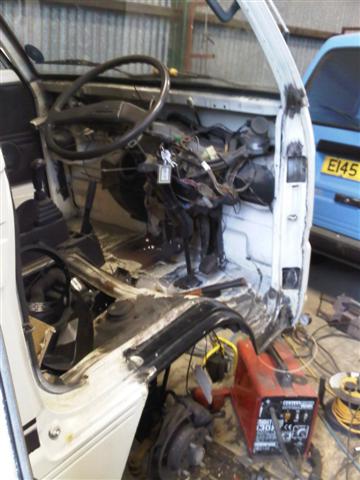
Above you can see the floor has been re-instated and the wheel arch has been welded in place. The dashboard has also been removed so that I can change the interior colour to grey.
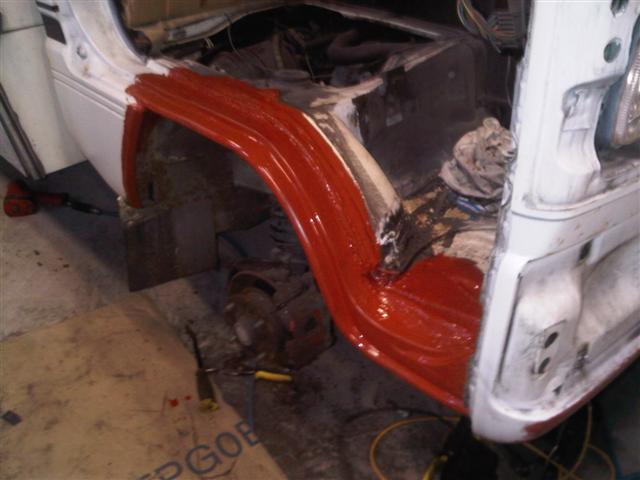
And above is the wheel arch primed in rust proof zinc primer. In the photo above you can just about see the extent of the rust around the rear of the driver's footwell which also had to be repaired.
And then filled with some body filler
And finally painted. It amazes me that people butcher these repairs when the repair panel is readily available from your local Suzuki or Vauxhall dealer. As far as I'm aware it's the only panel still available for the Rascal vans so it's well worth investing in a pair if you have one of these vans. |